8 Best Soil Testing Kits of 2024
The determining factor of success for gardening or landscaping project is your soil health. To find out what’s your garden’s soil needed for its good health is to find out first what it already has. There are many factors in which the health of your soil depends like soil fertility, pH, macro and micronutrients. To find out amount or quantity of these factors there are a lot of soil testing kits available in market. Home gardeners rely on these kits when deciding whether to amend their soil.
Soil testers range from simple pH strips to complex kits that pinpoint deficiencies. Serious gardeners will want to reach for comprehensive tests but for the average home gardener it is preferable to buy a test kit and do the tests himself. Here are some of the best Soil testing Kits which we have listed down for you by analyzing their pros and cons so it may be easy for you to choose and buy.
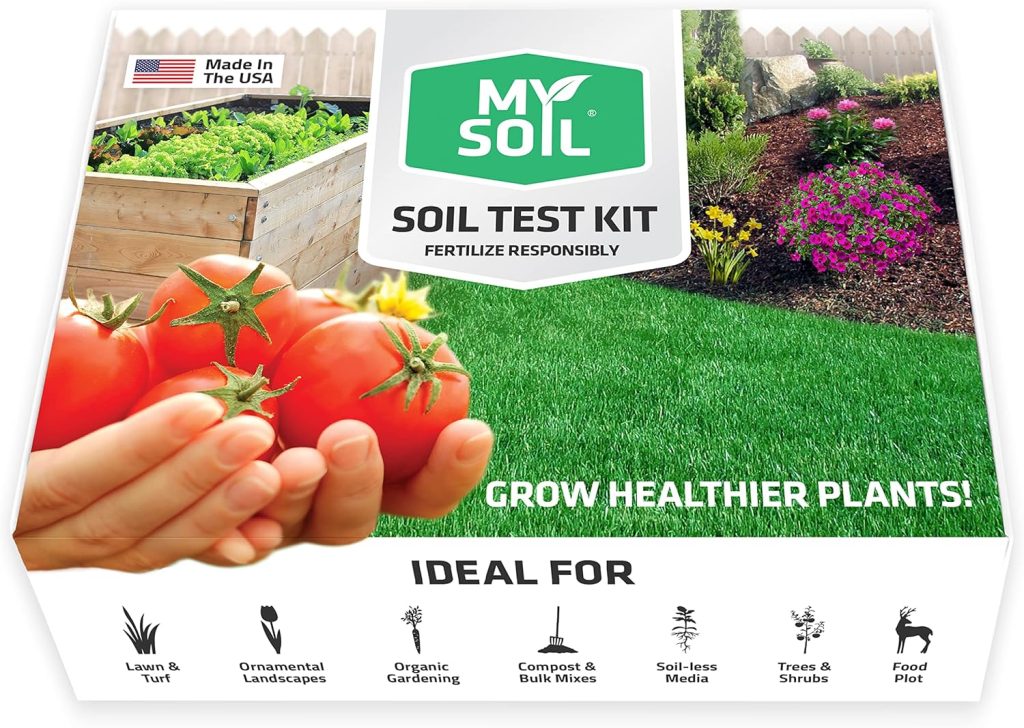
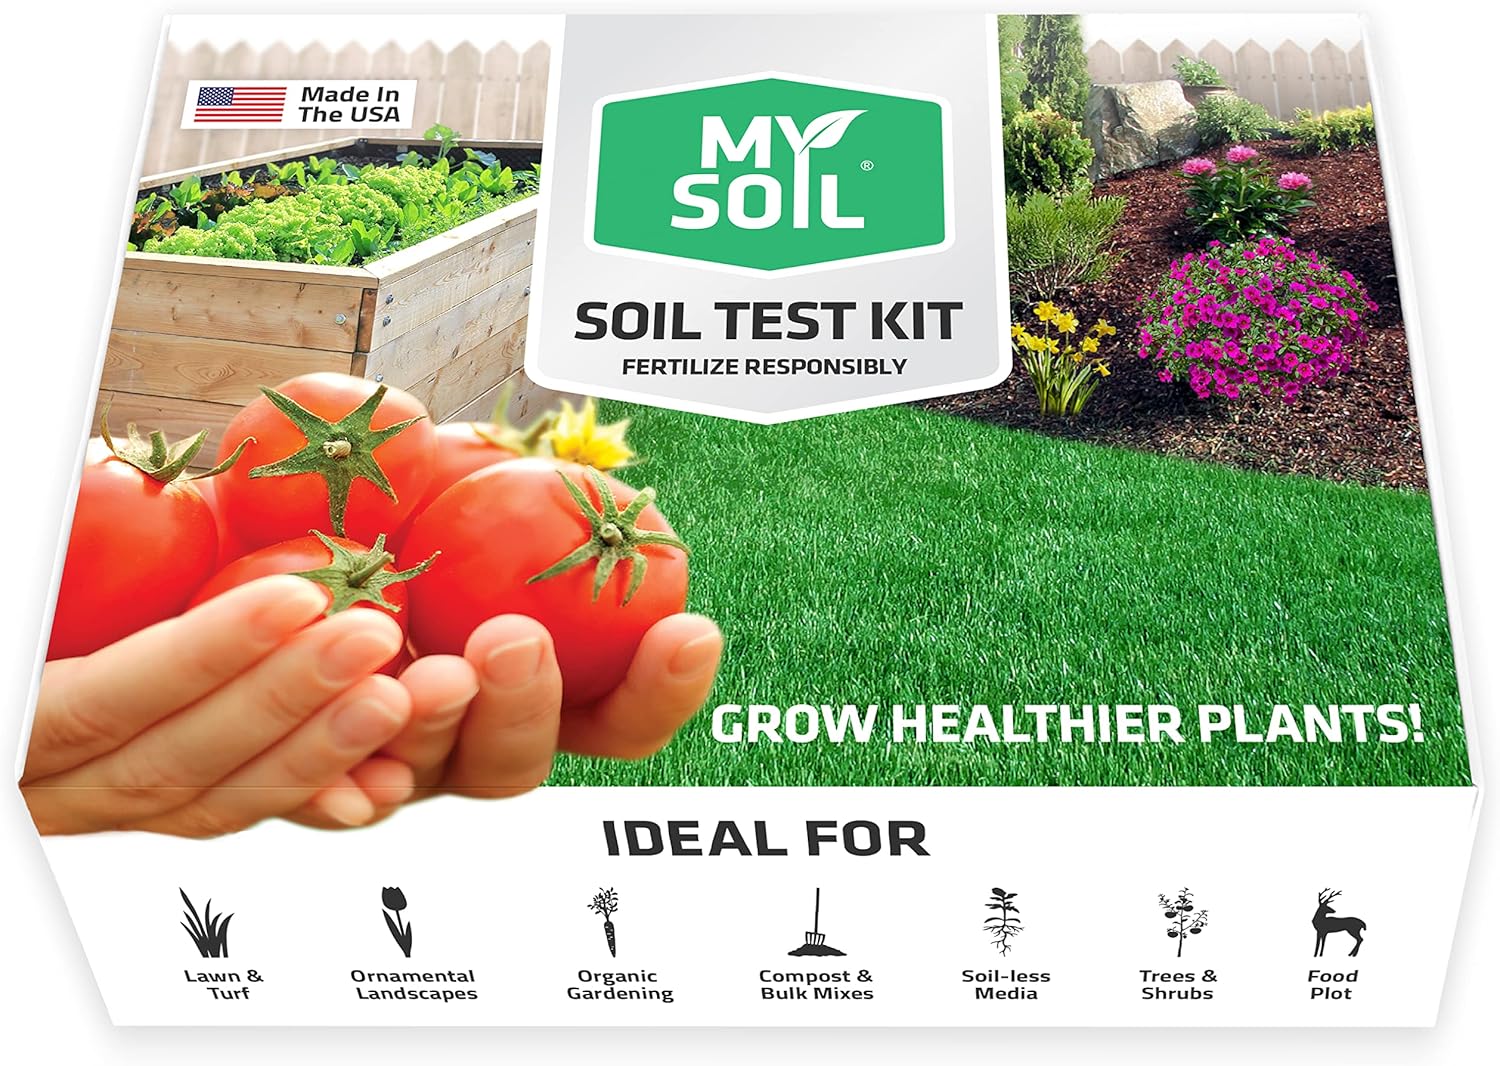
1. MySoil Test Kit
MySoil test kit allows gardeners to gather soil samples and have them professionally tested. It provides a detailed analysis of up to 13 nutrients which are macronutrients like nitrogen, phosphorus and potassium(N-P-K), micronutrients such as copper, zinc, and manganese and pH of soil.
Step 1: Register online
The user should register himself at reports.mysoiltesting.com from where user can purchase from their online store and register new kit, compare reports and get customer support.
Step 2: Collecting the soil sample
Use the included scoop to take a small sample of soil. User should take samples of soil from different positions or places of the lawn and mix them for an average result.
Step 3: Mailing the soil sample to MySoil’s Lab
Once the sample is ready, place it in the prepaid shipping envelope and mail the sample to MySoil’s testing laboratory. Turnaround times can vary but typically range from 6-8 business days.
Step 4: Viewing Your Results Online
Access your customized report at reports.mysoiltesting.com and learn what your soil needs to thrive. The report provides an in-depth analysis of your soil’s nutrient composition, pH, and organic matter levels, along with personalized recommendations to address any deficiencies or imbalances.
Step 5: Amend Soil
Add your sustainable product recommendations. Grow the healthiest plants possible.
Pros
Cons
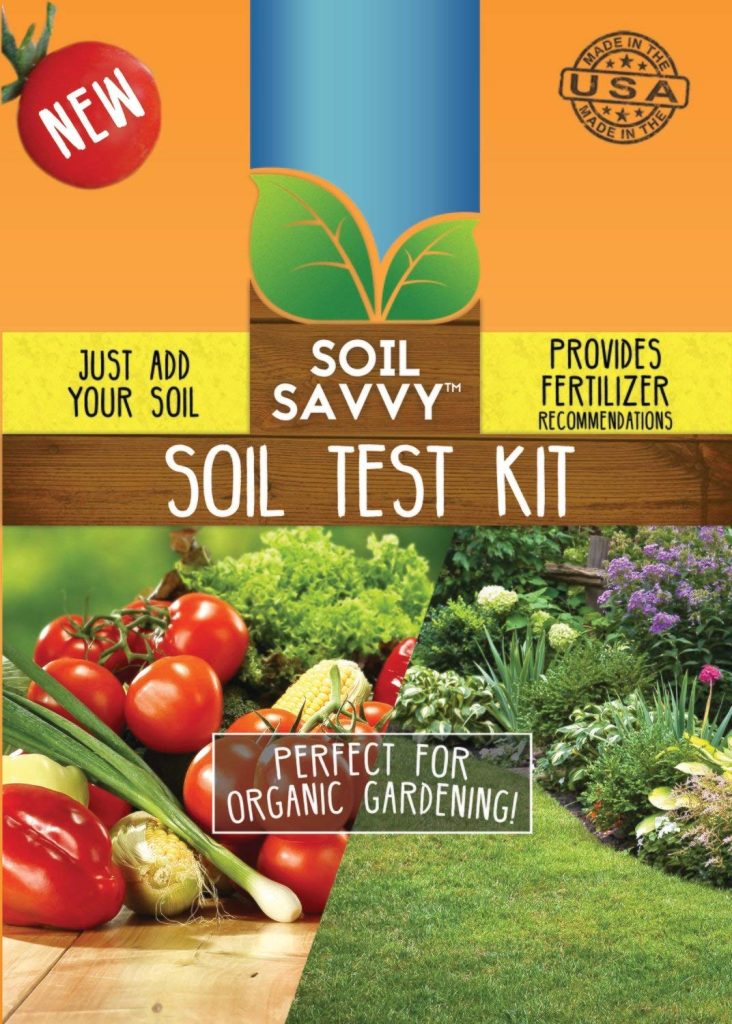
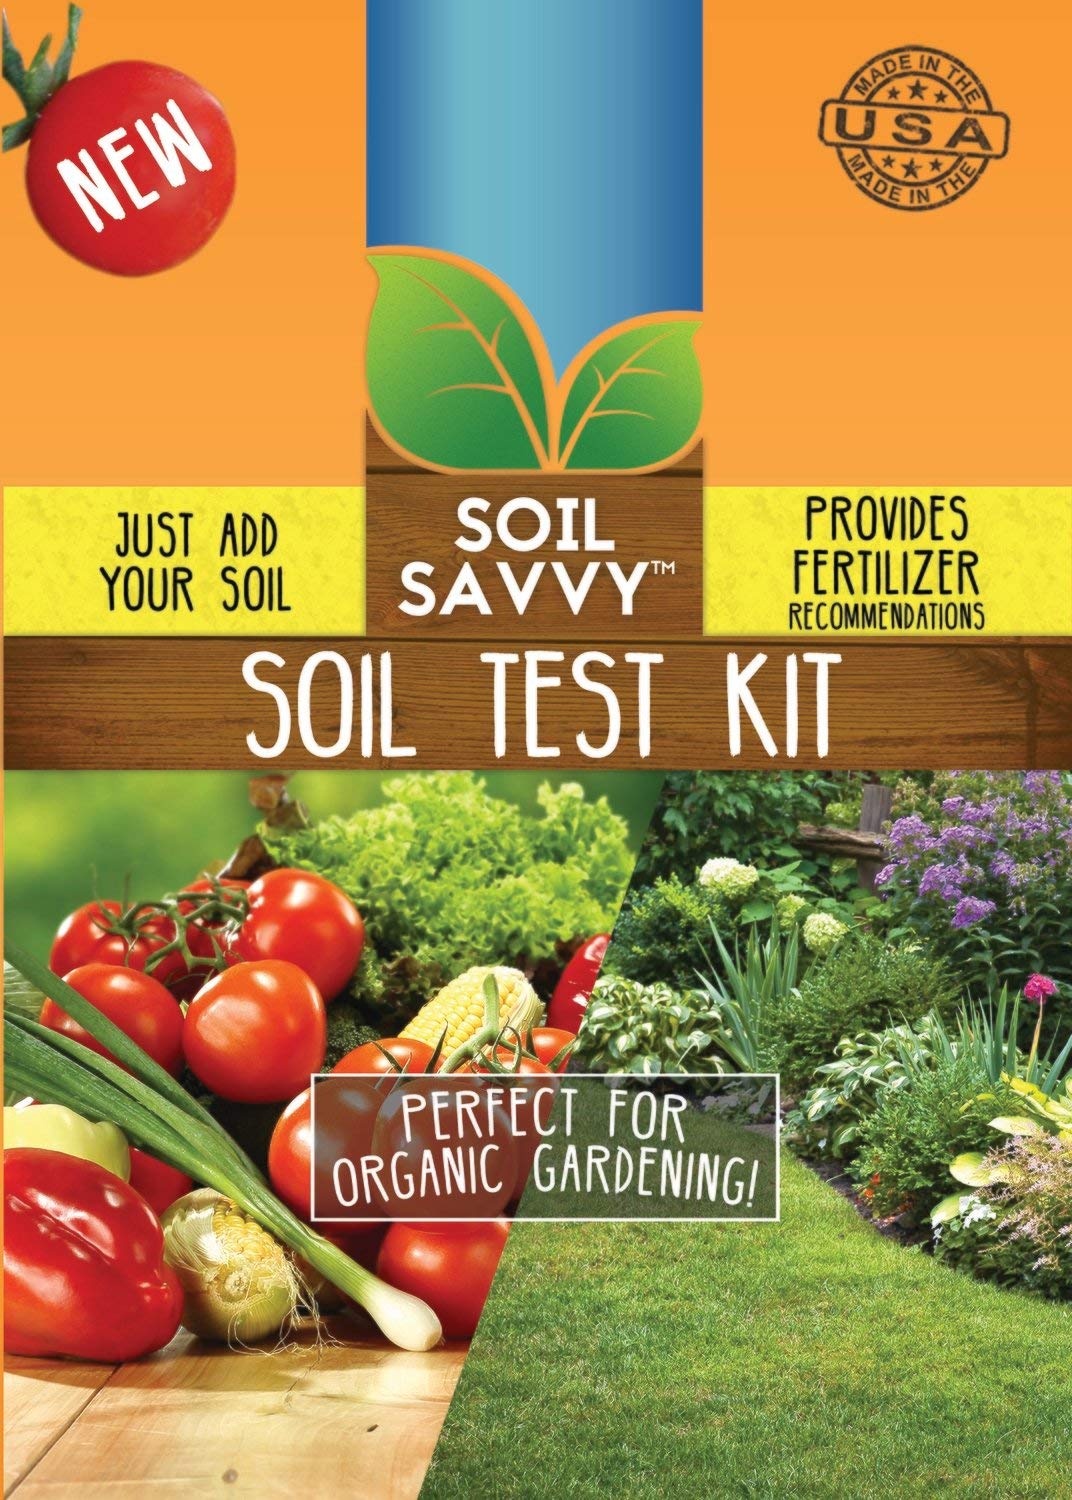
2. Soil Savvy-Soil Test Kit
The Soil Savvy soil test kit offers professional soil analysis and custom fertilizer recommendations. The same soil testing technology used by leading agricultural producers, turf managers and landscapers is now available to common home gardener. The Soil Savvy Soil Kit measures a wide range of soil factors which includes macro and micronutrients and also the pH level of soil that are critical for plant health. Each Kit includes all needed components and instructions for use. The kit includes the following.
Sample Jar: Soil Savvy™ patented artificial plant root that adsorbs your nutrients just like the root of your plant, water and double bar-coded for tracking
Soil Scoop: Designed for the right amount of soil in every sample
Laboratory and Customer cards: The laboratory submission card is sent it with the user’s sample. It tells the management of the laboratory who the user is, user’s email for sample results and what user is growing
Customer/User for accessing the results of the test.
Prepaid mailer for return shipment: Return shipping is already paid for. Customer should stick the envelope with his sample into an out-going mail box
The steps to use the kit are as follows
Step 1: Collection of soil sample
Collect 3-6 soil samples from multiple locations in your desired test area. Samples should be free of any plant material and other debris. Combine these samples in a large plastic bag and mix thoroughly to get an average result.
Step 2: Seal and Label
Label the sample bag with the area from which it was taken, and seal it properly.
Step 3: Mailing the sample
The kit comes with a prepaid postage label, so simply place your sealed sample bag into the provided envelope or box and send it to the Soil Savvy laboratory.
Step 4: Viewing results
Once your soil sample is analyzed by the laboratory, your results are made available via email or on www.mysoilsavvy.com
Pros
Cons
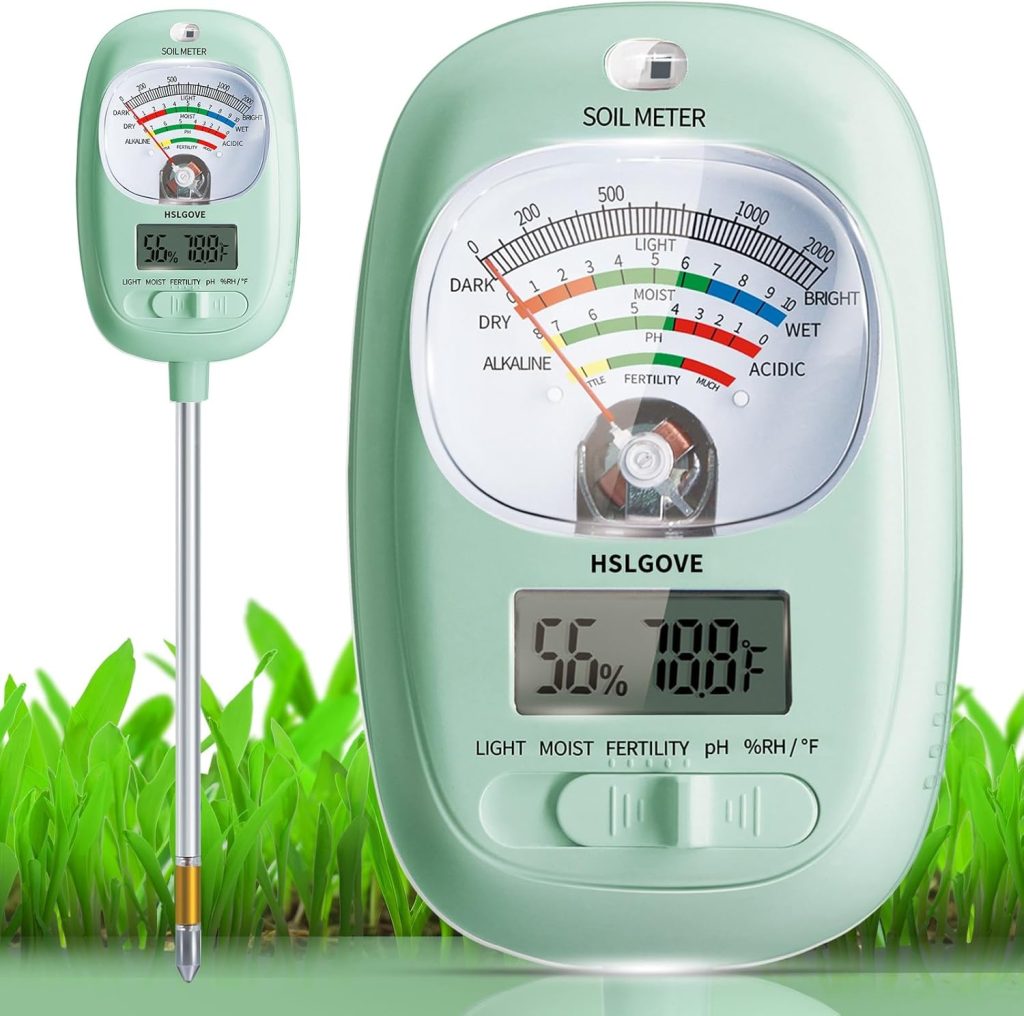
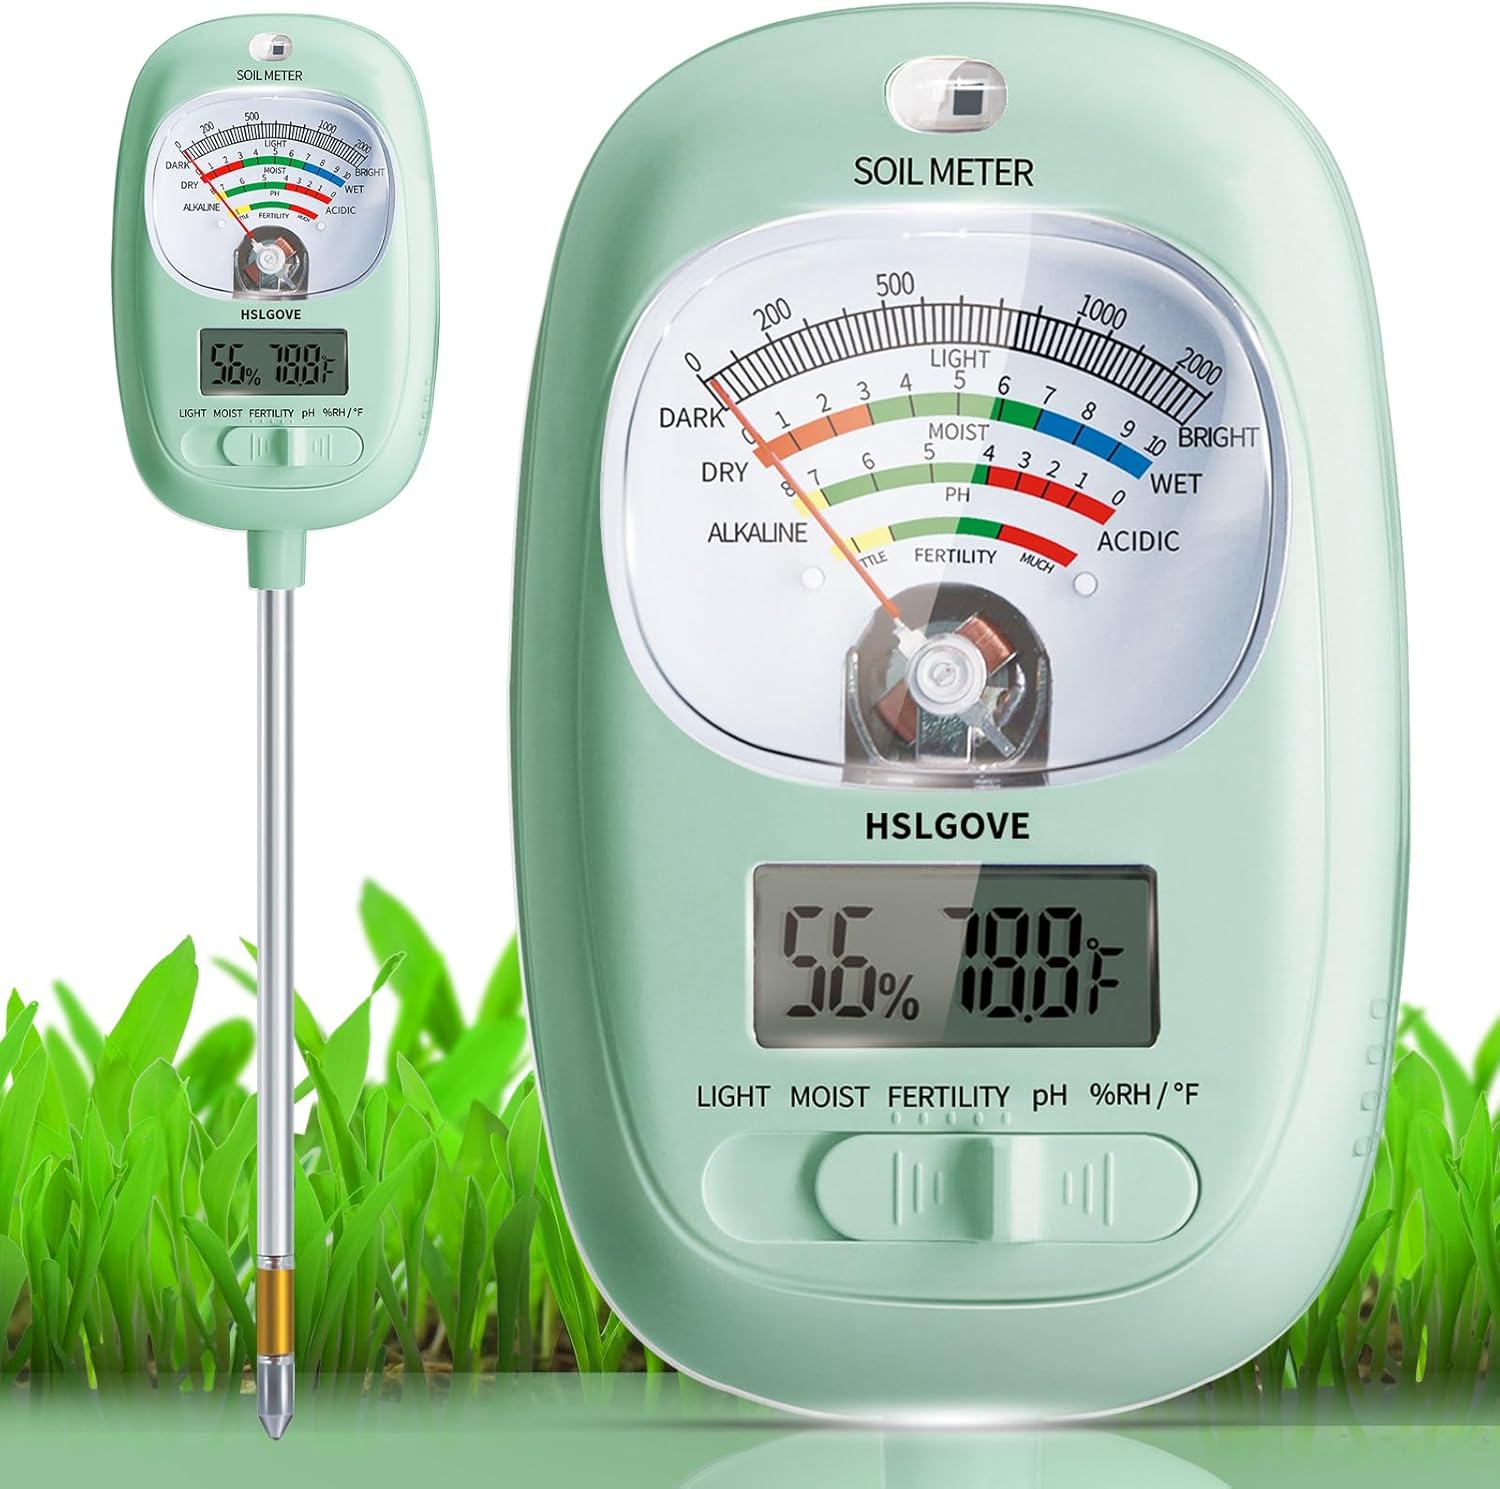
3. HSLGOVE Soil Test Kit, 7-in-One
HSLGOVE Soil test Kit 7-in-One, as the name suggests is used to measure 7 factors of soil which are essential for plant and soil health which includes sunlight, soil moisture, pH, fertility, soil temperature, air temperature and air humidity. It has one dial used to show and measure sunlight, moisture of soil, pH and fertility of soil without the use of batteries and 1 digital screen used to measure soil temperature, air temperature, and air humidity which requires the use of 3 LR44 batteries.
This kit is designed for beginners with easy mode switching. The probe it uses has an effective design, made from 3 quality metal materials which are Aluminum, Copper and Zinc for accurate results. It can be used for medium to large potted plants, indoor and outdoor garden, farms, lawns, flowers potted and vegetable plants. Steps to how to do are as follows.
Step1:
Switch to Light/Moist/Fertility/pH/%RH/⁰F. The LCD will only turn on when the switch is pushed to %RH/⁰F.
Step 2:
Insert the probe at least 3 inches in the soil but don’t insert it forcefully.
Step 3:
Read the dial when the needle stops moving. Read the LCD screen in 5 minutes
Step 4:
Remove the probe from the soil and wipe it clean after use
Things not to do:
- Do not use it to test water or other liquids
- Do not use in rocks or other excessively hard soil
- It is not suitable for sandy and other loose soils
- Do not use brute force as it may damage the probe
- Do not reuse in the same place
Pros
Cons
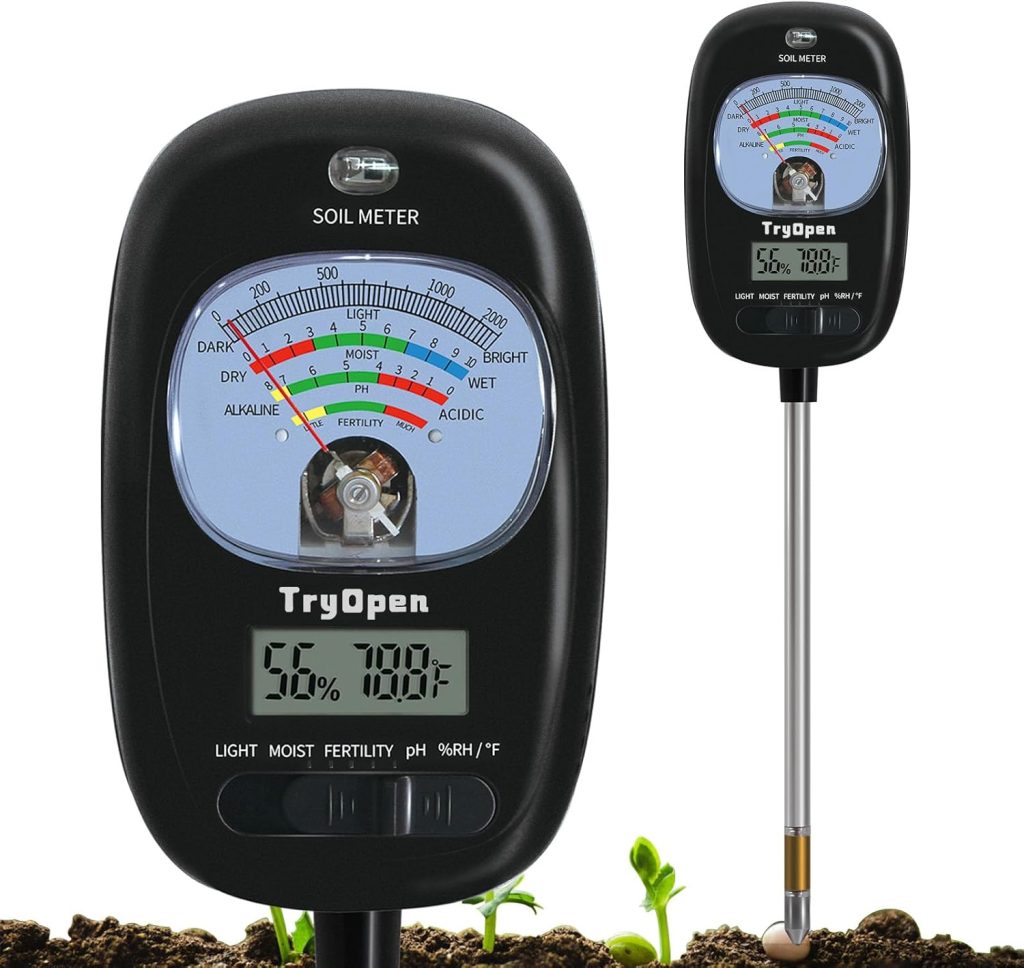
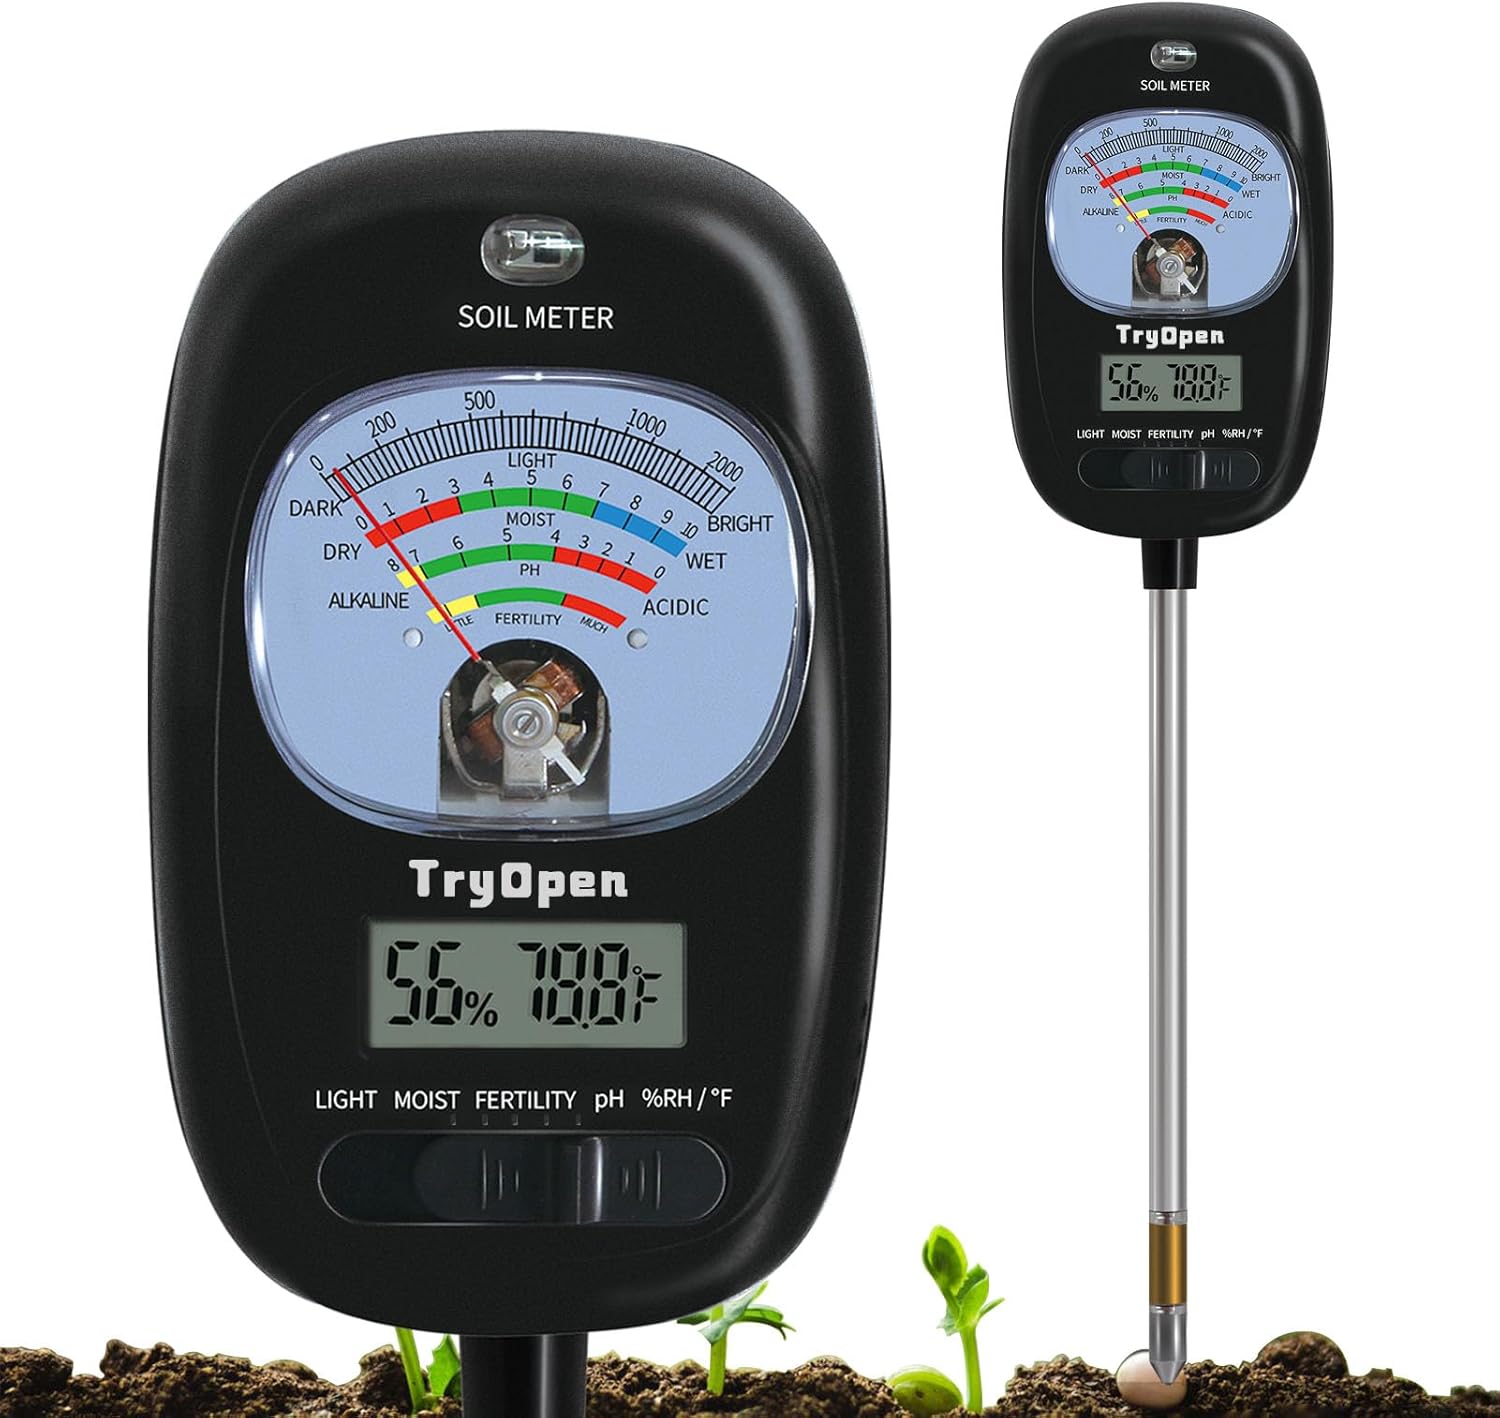
4. TryOpen 7-in-One soil testing kit
TryOpen soil testing kit has a 7-in-One functionality enabling it to measure 7 major factors which includes, pH, fertility of soil, soil moisture, sunlight, air temperature, soil temperature and air humidity deeply related to the health of your soil. It has one dial used to show and measure sunlight, moisture of soil, pH and fertility and one digital screen which shows the air temperature, soil temperature and air humidity like the HSLGOVE 7-in-One Soil test Kit. Soil tester probes are made of high-quality metal materials, which are more corrosion-resistant than ordinary materials.
It is widely used for home gardening, rice planting, vegetable planting, potted planting, flower planting, greenhouse planting, soil testing, etc. Soil tester probes are made of high-quality metal materials, which are more corrosion-resistant than ordinary materials. Steps to follow are given below.
Step 1:
Switch to Light/Moist/Fertility/pH/%RH/⁰F. The LCD will only turn on when the switch is pushed to %RH/⁰F.
Step 2:
Insert the probe up to 2/3 times of the total length in the soil but don’t insert it forcefully
Step 3:
Read the dial when the needle stops moving. Read the LCD screen after few minutes
Step 4:
Remove the probe from the soil and wipe it clean after use
Things not to do:
- Do not use it to test water or other liquids
- Do not use in rocks or other excessively hard soil
- It is not suitable for sandy and other loose soils
- Do not use brute force as it may damage the probe
- Do not reuse in the same place
Pros
Cons
Product Comparison Table
Image | Name | Details | Price |
| |||
| |||
| |||
|
5. Atree 3-in-1 Soil pH Meter Tester Kit
Atree 3-in-1 Soil pH Meter Tester Kit as the name suggests has 3-in-One functionality designed for measuring soil moisture, pH value and sunlight intensity. Helpful for the growth of indoor and outdoor plants, garden and vegetation plants. It is an accurate or near to accurate instrument, easy to use and doesn’t require batteries to function. Steps to how to use are given below.
Step 1:
Push the switch to moisture/pH/light position.
Step 2:
Stick the probes into the soil 4-6 inches (2/3 of the probes.
Step 3:
Adjust the position of the probes until the pointer on the dial swing slightly.
Step 4:
After 10 minutes, note moisture/pH/light level in the dial.
Step 5:
Remove probes from soil and wipe clean after each use.
Pros
Cons
6. Luster Leaf 1605 Digital Soil Test Kit
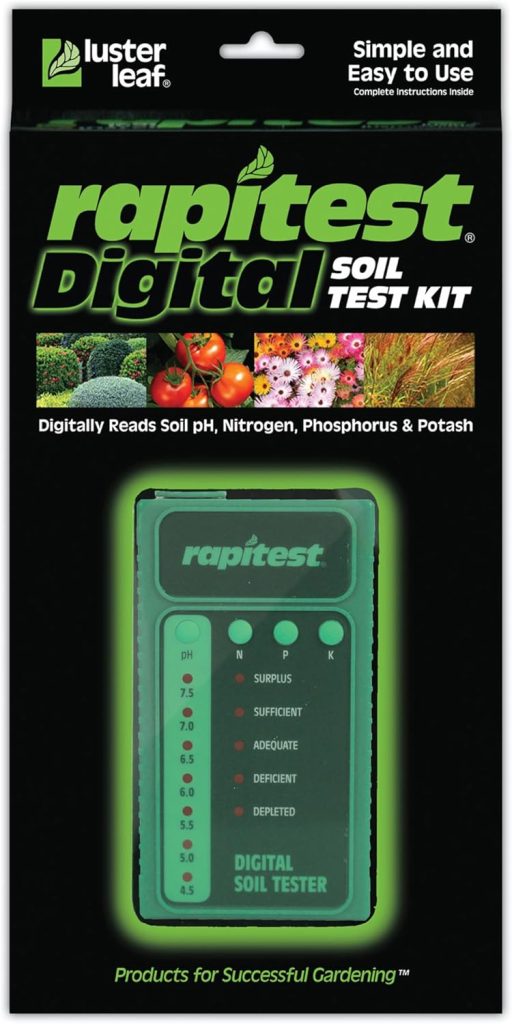
The Luster Leaf 1605 Digital Soil Test Kit is part of the popular Rapitest line, which is known for its precision and reliability. It conducts chemical test of soil for measuring pH of soil, Nitrogen(N), Phosphorus(P) and Potassium(K) levels. The kit Includes the following components.
Digital Display:
Provides digital results that are straightforward and very easy to interpret.
Color coded soil test capsules:
5 capsules per test for nitrogen, phosphorus, and potassium and 10 capsules for testing the pH.
Detailed Instruction Manual:
Includes a booklet that has pH preferences for over 450 plants
The process for measuring the N-P-K nutrients and pH is same. The steps to how to use are given below.
Step 1:
Collect a soil sample from different places of your lawn or backyard
Step 2:
Fill the test tube with the sample of dry soil
Step 3:
Add filtered water to the tube and shake the tube properly.
Step 4:
Insert the color-coded capsule in the tube and shake it again.
Step 5:
Once mixed properly insert the mixture in to the hole at the top of the digital reader and press the button corresponding to the test.
Step 6:
The digital reader gives the results via a lit-up button.
Step 7:
If the soil has too much of a nutrient, it shows as “surplus,” or “sufficient”, for normal amount of nutrients it shows “adequate” and for lower amounts shows as “deficient,” or “depleted”.
Step 8:
For the pH level it indicates the respective reading ranging from 4.5 to 7.5 pH.
Pros
Cons
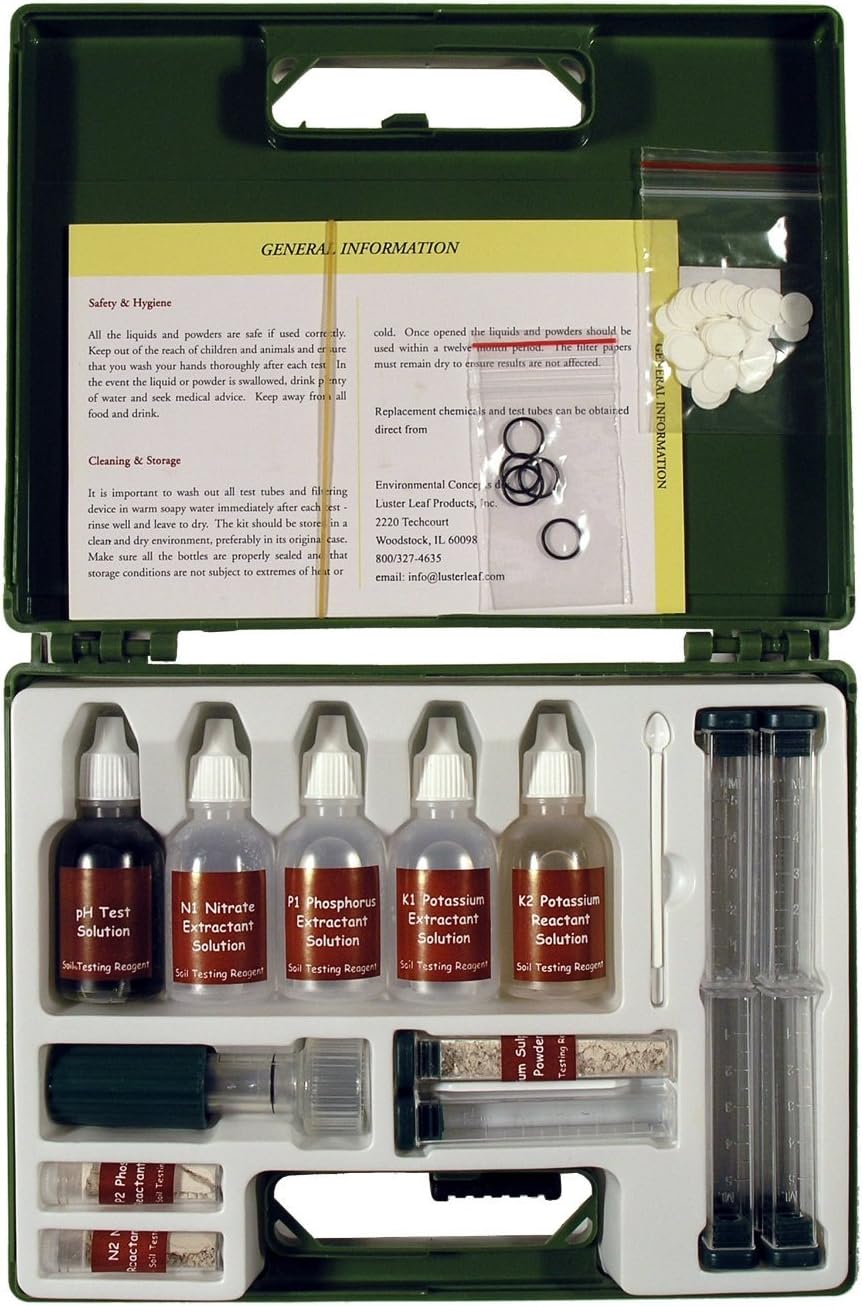
7. Luster Leaf 1663 Soil Test Kit
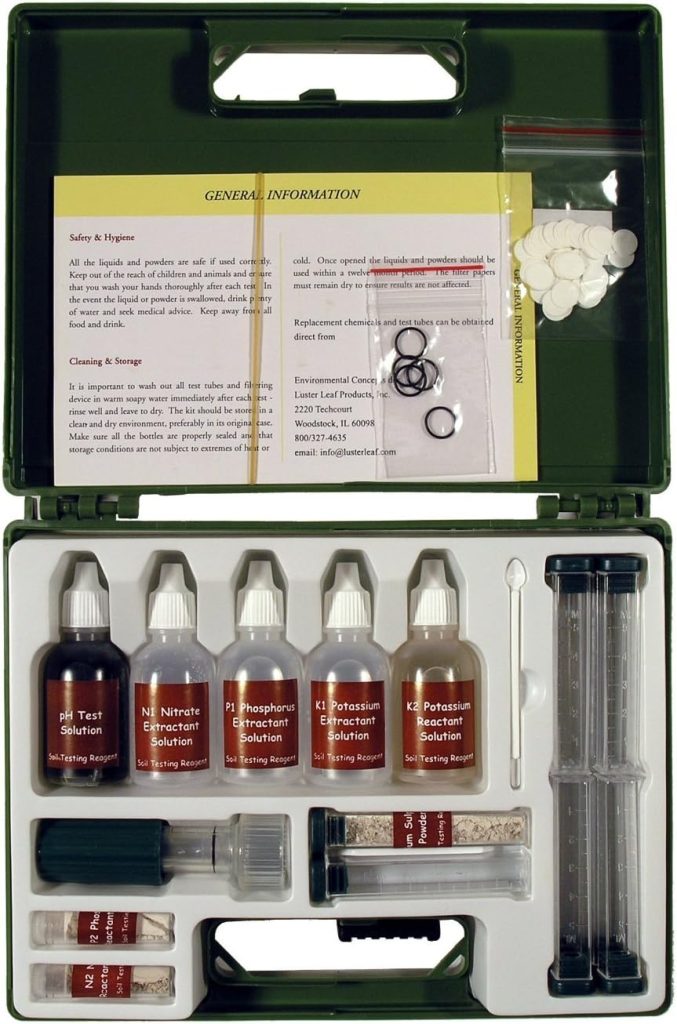
The Luster Leaf 1663 Soil Test Kit is designed to provide an accessible, accurate, and quick way to test your soil for pH, nitrogen (N), phosphorus (P), and potassium (K) levels. The kit contains comes with a sturdy plastic case and has components for 80 tests. 20 each for Soil pH, N, P and K. It also contains a booklet having simple and detailed instruction and tips regarding gardening and altering soil conditions and pH preference list for hundreds of plants. Steps to how to use are as follows.
Step 1:
Gathering soil sample and putting a tiny bit in a glass tube
Step 2:
Adding the specific liquid and powder relative to the nutrients or pH testing.
Step 3:
Shake it well.
Step 4:
Compare the color of the liquid in the tube with the chart in the booklet.
Pros
Cons
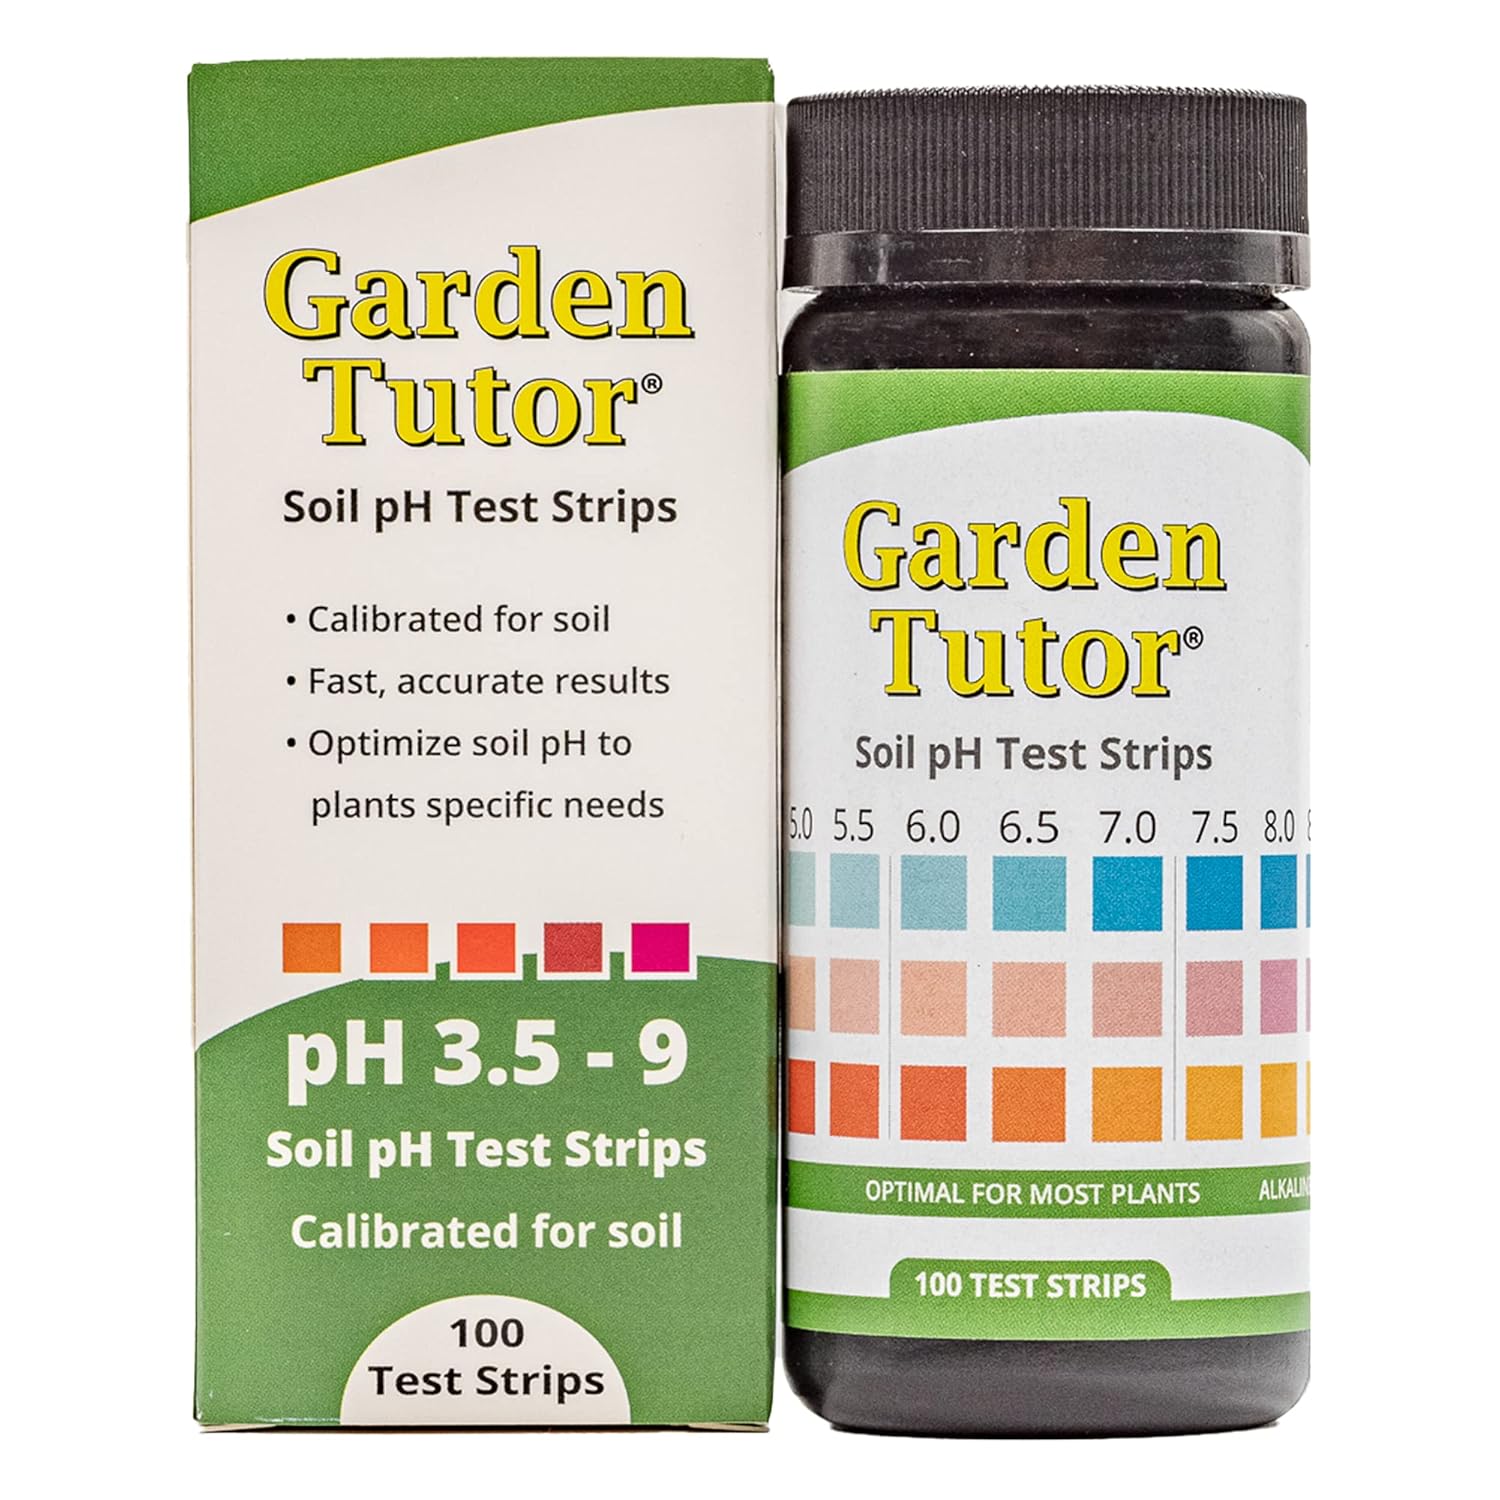
8. Garden Tutor Soil pH Test Strips Kit
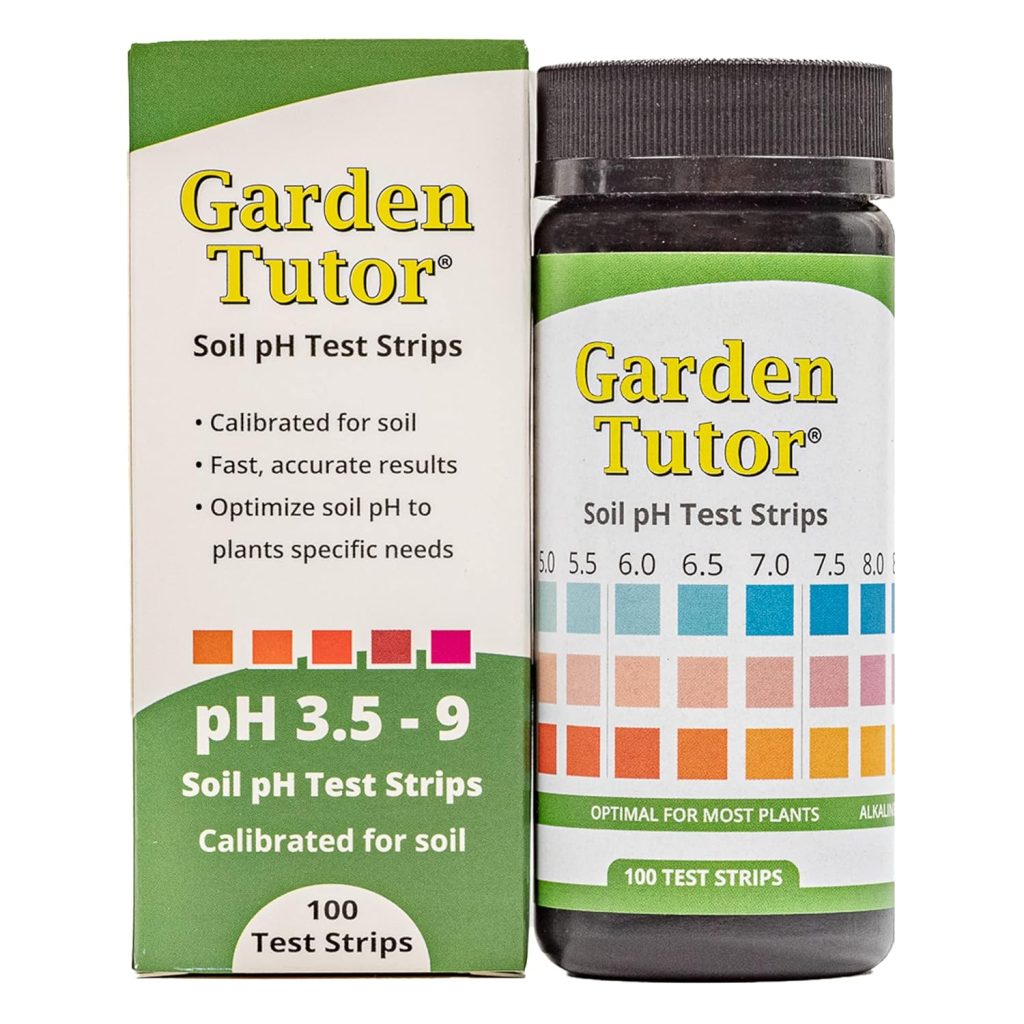
The Garden Tutor Soil pH Test Strips Kit is an easy-to-use and accurate tool designed for home gardeners who want to assess and monitor their soil’s pH level. It uses the traditional test strips to measure an accurate pH level of soil. Garden Tutor soil pH test strips are designed to work in all soil types including sand, silt, clay and loam soils and a detailed testing instructional booklet is provided to help you garden like a professional. It has enough soil test strips for 100 soil pH tests. Steps to how to use are as follows.
Step 1:
Take a small soil sample from your lawn or yard and put it in a jar.
Step 2:
Add some distilled water as the tap water might change the pH due to minerals in it.
Step 3:
Insert the test strip into the soil sample for a few seconds.
Step 4:
Remove the strip and compare its color to the color chart provided with the kit.
Step 5:
Determine the pH level based on the closest match to the color chart.
Step 6:
Repeat the process in different areas of your garden or lawn to ensure accurate results.
Step 7:
Refer to the provided handbook for lime and sulfur application charts to adjust your soil pH if necessary.
Pros
Cons
Product Comparison Table
Image | Name | Details | Price |
| |||
| |||
| |||
|
Considerations before Purchasing a Soil Testing Kit
Following things should be consider by the user before purchasing any soil testing kit.
1. Purpose of Testing
Determining the purpose of testing is very important whether you want to identify soil pH levels, or checking the nutrient levels of crops or diagnosing poor plant health
2. Type of Soil Testing Kit
At-Home Kits: Simple, affordable, and sufficient for general use but less precise.
Professional Lab Kits: Provide detailed and accurate results but are more expensive and time-consuming.
Digital Soil Testers: Convenient for pH and moisture levels, but may not test nutrients.
3. Accuracy and Reliability
Check the accuracy level and read customer reviews or brand recommendations. Kits with laboratory analysis options typically provide more precise results
4. Ease of Use
Look for kits with clear instructions, pre-measured reagents, and color-coded charts. Choose kits with minimal setup and user-friendly tools, especially for beginners
5. Cost
Compare kit prices based on number of tests provided and Reusability (e.g., digital meters vs. single-use chemical kits). Balance cost with accuracy and scope of analysis.
6. Frequency of Testing
For frequent testing, opt for reusable or digital kits and for occasional testing, disposable chemical kits may suffice.
7. Soil Type
Consider whether the kit is designed for specific soil types (e.g., sandy, clay, or loamy soil) because some kits work better in agricultural soils, while others suit garden soils
8. Included Tools
Verify that the kit includes necessary accessories such as Test tubes or vials, reagents or solutions and soil collection tools and guides
9. Brand Reputation
Choose kits from reputable brands with good reviews and proven track records for reliability. Look for kits endorsed by agricultural or gardening professionals.
10 Environmental Impact
Opt for kits with non-toxic reagents and eco-friendly packaging, especially if you’re conscious of environmental safety.
11. Follow-Up Guidance
Prefer kits that include recommendations or resources to amend your soil based on test results.
